
How to install NOBOROKKA
Building safe, stable steps on a slope doesn’t need heavy tools or complicated installation. With NOBOROKKA, anyone can transform a slippery or uneven hillside into a walkable path — in minutes.
Follow this simple 3-step method used by professionals and DIY users across Japan.

STEP 1
Lightly Level the Ground
Use a rake, shovel, or similar tool to gently smooth the area where each step will sit.
You don’t need to dig or alter the natural terrain — just ensure:
- the ground is relatively even,
- there are no large stones or branches directly under the step,
- and the step lies comfortably on the surface.
Tip: On soft or moist soil, firm the surface with your foot before placing the step.
STEP 2
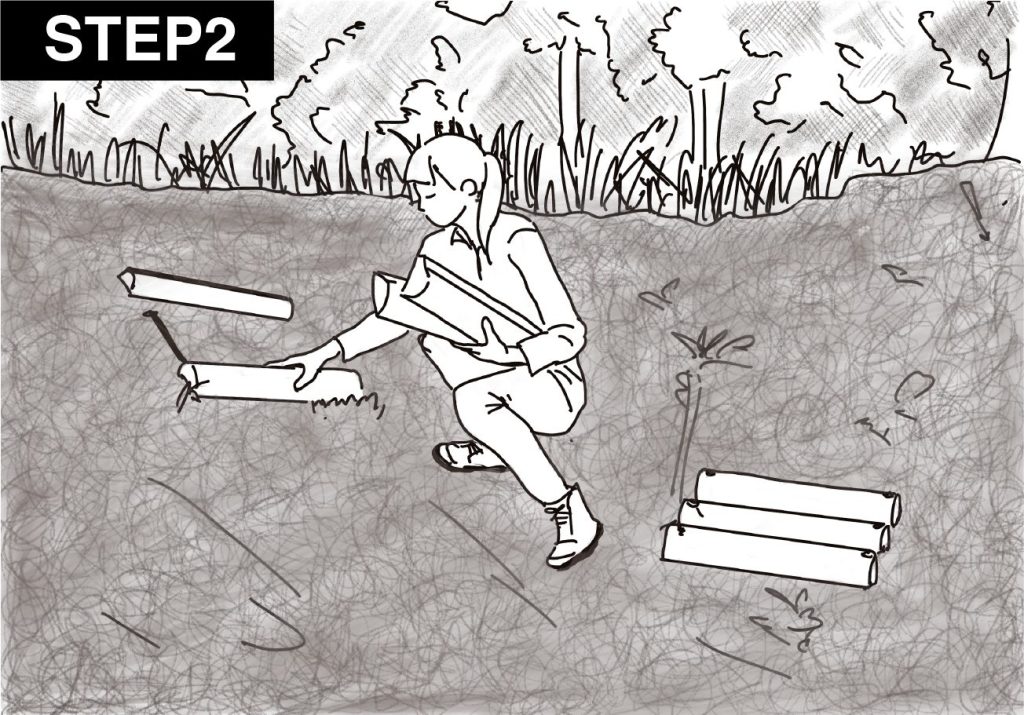
Place the Steps at a Natural Walking Rhythm
Position each step along the slope at distances matching your natural stride.
Spacing is important:
- On gentle slopes → place steps slightly farther apart
- On steep slopes → place steps closer together for smooth climbing
- On long slopes → keep spacing consistent for comfortable movement
Tip: Stand on the slope and “walk it out” before anchoring this helps determine ideal step intervals.
STEP 3
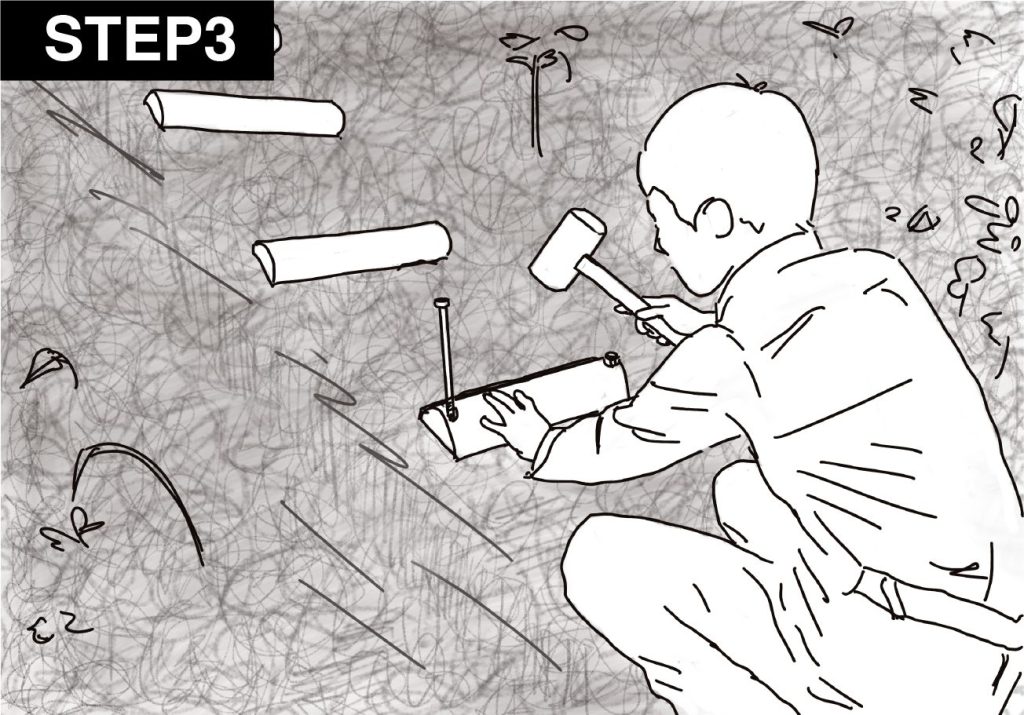
Anchor Securely
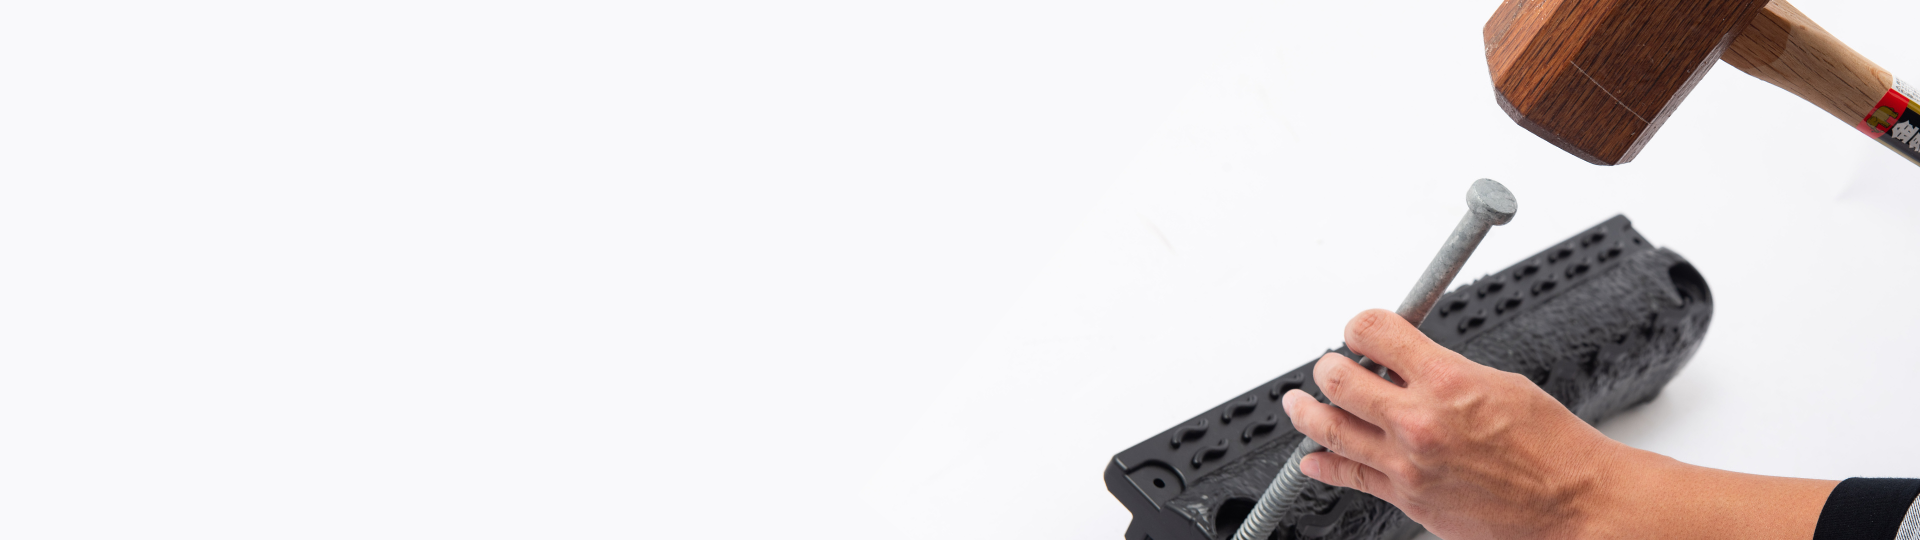
Use the included steel pegs to secure each step firmly into the ground.
A few taps with a hammer will lock the step in place.
Make sure the pegs enter the ground at a slight angle for maximum stability.
If the soil is soft:
Re-check the pegs after a few days. If they rise slightly, simply re-hammer them.
STEP 4
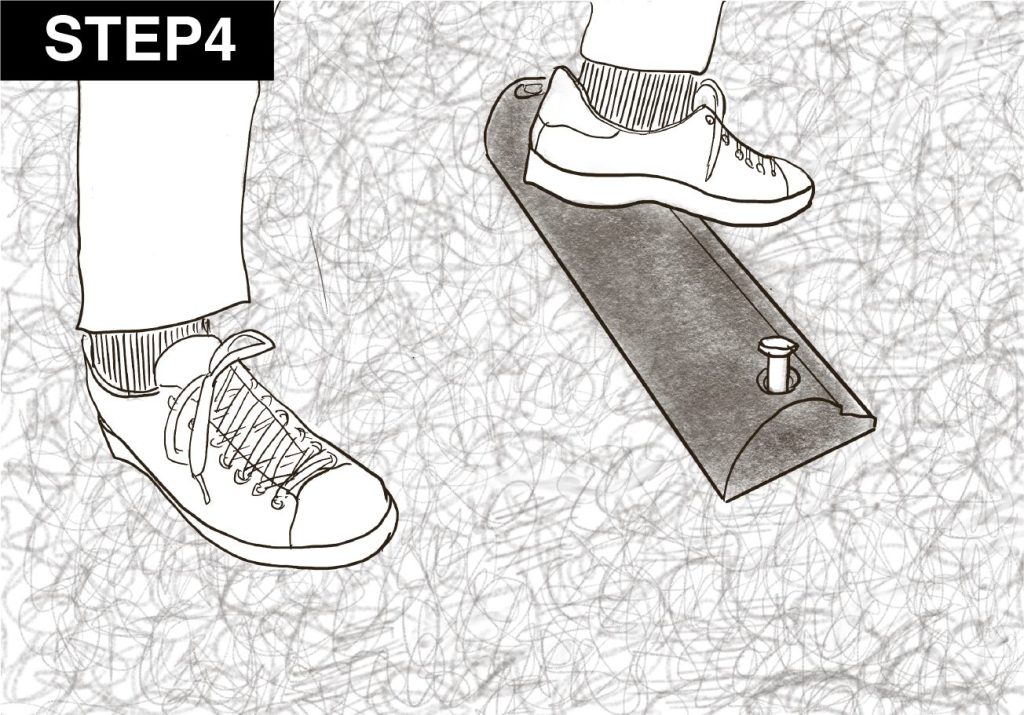
Check Stability
Apply pressure to the step board to check if it is stable.
If the ground is soft, the step board may sink and the metal stakes may lift slightly.
After applying pressure to the step board, hammer the stakes in again to secure them, and the installation will be complete.